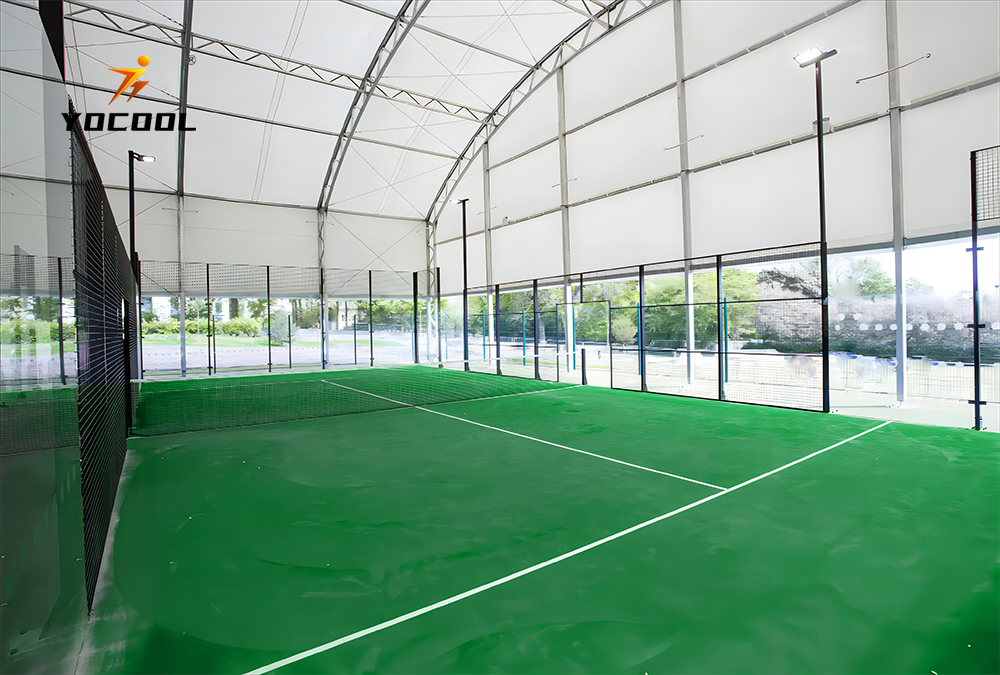

Creating Your Own Padel Court A Guide for DIY Enthusiasts
In recent years, padel has evolved into one of the fastest-growing racket sports globally. Combining elements of tennis and squash, this engaging game is played on a smaller enclosed court, making it accessible and enjoyable for players of all ages and skill levels. For those passionate about this sport, establishing a padel court in your backyard or within a community area can enhance the playing experience. In this article, we will explore how to create your own DIY padel court, from initial planning to the final touches.
Understanding Padel Court Specifications
Before diving into the construction process, it's essential to familiarize yourself with the specifications of a padel court. An official padel court measures 20 meters long and 10 meters wide, surrounded by walls that stand 3 meters high at the side and 4 meters high at the back. These walls are typically made of glass, which allows for exciting rallies and adds to the game’s unique dynamics. The flooring should be made of synthetic turf or similar surfaces designed for optimal play.
Planning Your Padel Court
1. Location Selection The first step in creating a DIY padel court is selecting the right location. Look for a flat area that is free from obstructions like trees or buildings that could disrupt gameplay. Ideally, the site should receive plenty of sunlight and have easy access for players.
2. Designing the Layout Once a location is selected, you can begin designing the court. Mark the dimensions of the court with string or chalk to visualize the space. Make sure to include extra room around the court to allow for movement and safety.
3. Obtaining Permits Depending on your local regulations, you may need to obtain permits before proceeding with construction. Check with local authorities to ensure you comply with all zoning laws and regulations.
Building the Court
1. Foundation and Flooring The first construction step is to create a solid foundation. Excavate the area to establish a level base, and then fill it with gravel or sand to ensure proper drainage. Once the base is ready, you can lay down the flooring material. Synthetic turf is a popular choice due to its durability and low maintenance, but make sure you choose a quality product designed for padel.

2. Walls and Fencing The next step is to construct the walls. You can either use glass panels or install solid walls, depending on your budget and aesthetic preference. The glass walls should be securely framed and rise to the appropriate height to allow for the correct gameplay. If opting for solid walls, ensure they have smooth surfaces to facilitate ball rebounds.
3. Net Installation The central net divides the court into two sides and is essential for play. Install a net that meets official specifications, ensuring that it is securely anchored and adjustable in height.
4. Lighting If you plan to play during evenings or in low-light conditions, consider installing adequate lighting around the court. LED floodlights are an energy-efficient option that will provide sufficient illumination for nighttime play.
Final Touches
1. Accessories and Equipment Once the court is built, it's time to invest in some basic equipment. Purchase quality padel rackets and balls, and consider adding benches or seating for players and spectators. You may also want to include a small storage area for equipment.
2. Landscaping To enhance the surrounding area, incorporate landscaping that complements your padel court. Plant greenery and create pathways to make the space inviting.
3. Community Engagement If your DIY padel court is in a shared space, promote it within your community. Organize casual tournaments or games to engage players and foster a sense of camaraderie.
Conclusion
Building your own DIY padel court can be a rewarding project that enhances your enjoyment of the sport while providing a fantastic space for friends and family to gather. By carefully planning and executing each step, you can create a dynamic padel court that meets all specifications and encourages active play. So, roll up your sleeves and get started on this exciting venture!
High-Performance Industrial Flooring Solutions China Paddle Tennis Court for Sale
High-Performance Industrial Flooring Solutions Durable & Cost-Effective
Homogeneous Transparent Floor – Durable & Stylish Rubber Floor Solutions
Premium Homogeneous Transparent Floor for Durable & Stylish Spaces Rubber Floor Solutions
Premium Sports Floor Solutions Durable PVC Sports Floor & Rubber Floor for Gyms
Durable Rubber Composite Floor Premium Rubber Floor & Mats Solutions