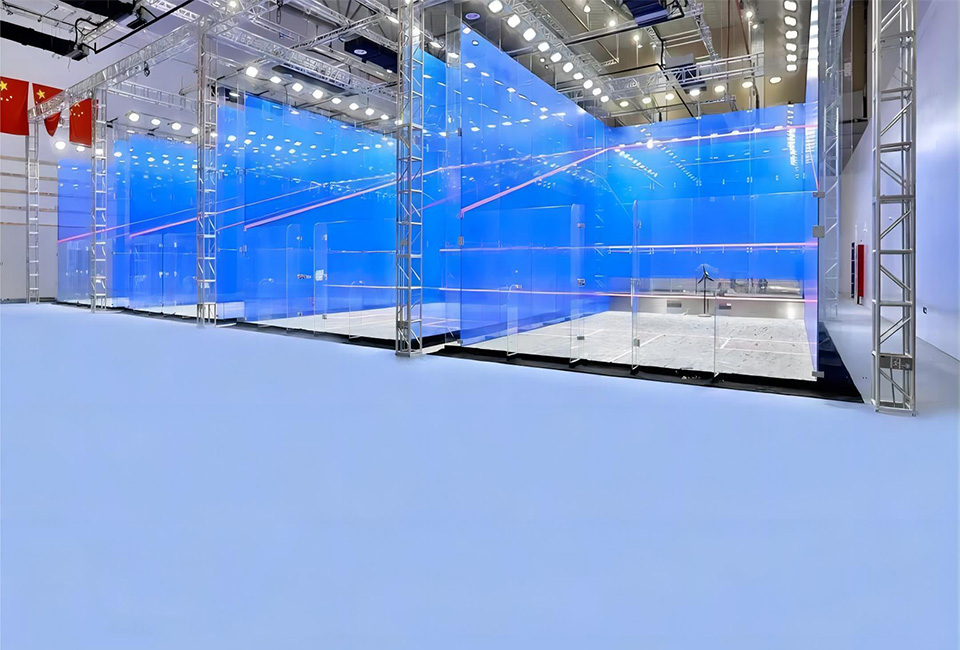

Creating Your Own DIY Padel Court A Complete Guide
Padel tennis has rapidly gained popularity across the globe due to its unique blend of tennis and squash elements. While many people flock to commercial courts, building your own DIY padel court can be an exhilarating and rewarding project. Besides saving money in the long run, having your own court allows for spontaneous games and family fun. This guide will walk you through the steps needed to construct your very own padel court.
Understanding Padel Court Requirements
Firstly, let's discuss the dimensions and characteristics of a standard padel court. A regulation padel court measures 20 meters long and 10 meters wide, surrounded by walls that are typically made of glass or solid material. The height of the walls at the back is 3 meters, while the side walls stand at 4 meters. The court is divided in the middle by a net that stands 0.88 meters high in the center and 0.92 meters at the posts.
Before starting the project, you should ensure that you have enough space in your yard or designated area. Clear any obstacles and check local regulations regarding building and sports facilities, as you might need permits depending on your location.
Materials You Will Need
To build your DIY padel court, you will require specific materials
. Here’s a basic list1. Materials for the Base - Concrete or asphalt for the surface - Drainage materials (if needed) 2. Fencing - Steel posts - Wire mesh or glass panels for walls - Glass for the back wall (if you want a high-end finish)
3. Net and Court Supplies - Padel net - Boundary lines (paint or tape) - Court lighting (optional, for nighttime play)
4. Tools - Concrete mixer - Leveling tools - Drill and screws - Saw (if customizing wood or panels)
Steps to Construct Your Padel Court

1. Preparation of the Ground - Level the ground and establish the dimensions of 20x10 meters. - Clear the area of rocks and debris.
2. Creating the Base - Pour concrete or lay asphalt to create a smooth playing surface. Ensure proper drainage to avoid water accumulation.
3. Installing the Fencing - Install the steel posts around the court perimeter, ensuring they are securely anchored in the ground. - Attach wire mesh or glass panels to create the walls, keeping in mind the height specifications of the sport.
4. Setting Up the Net - Install the net in the center of the court, following the height guidelines. Ensure the posts for the net are secure.
5. Marking the Court - Use paint or tape to mark the lines on the court, establishing the service areas and other boundaries according to official padel court dimensions.
6. Lighting the Court (if desired) - Install lighting fixtures to enhance visibility for evening games.
Maintenance Tips
Once your DIY padel court is complete, maintaining it is essential for longevity and performance. Regularly check the surface for cracks or debris, ensure the net is taut and in good condition, and inspect the fencing for any loose parts. Keeping the area clean and well-maintained will provide you and your friends with an enjoyable playing experience for years to come.
Conclusion
Building your own DIY padel court can be an exciting journey that brings family and friends together. Not only does it add value to your property, but it also promotes an active lifestyle. With careful planning, the right materials, and a bit of handy work, you can create a fantastic padel environment right in your backyard. Embrace the challenge, and soon you’ll be enjoying thrilling matches under the sun!
High-Performance Industrial Flooring Solutions China Paddle Tennis Court for Sale
High-Performance Industrial Flooring Solutions Durable & Cost-Effective
Homogeneous Transparent Floor – Durable & Stylish Rubber Floor Solutions
Premium Homogeneous Transparent Floor for Durable & Stylish Spaces Rubber Floor Solutions
Premium Sports Floor Solutions Durable PVC Sports Floor & Rubber Floor for Gyms
Durable Rubber Composite Floor Premium Rubber Floor & Mats Solutions